
Specialty Bulbs
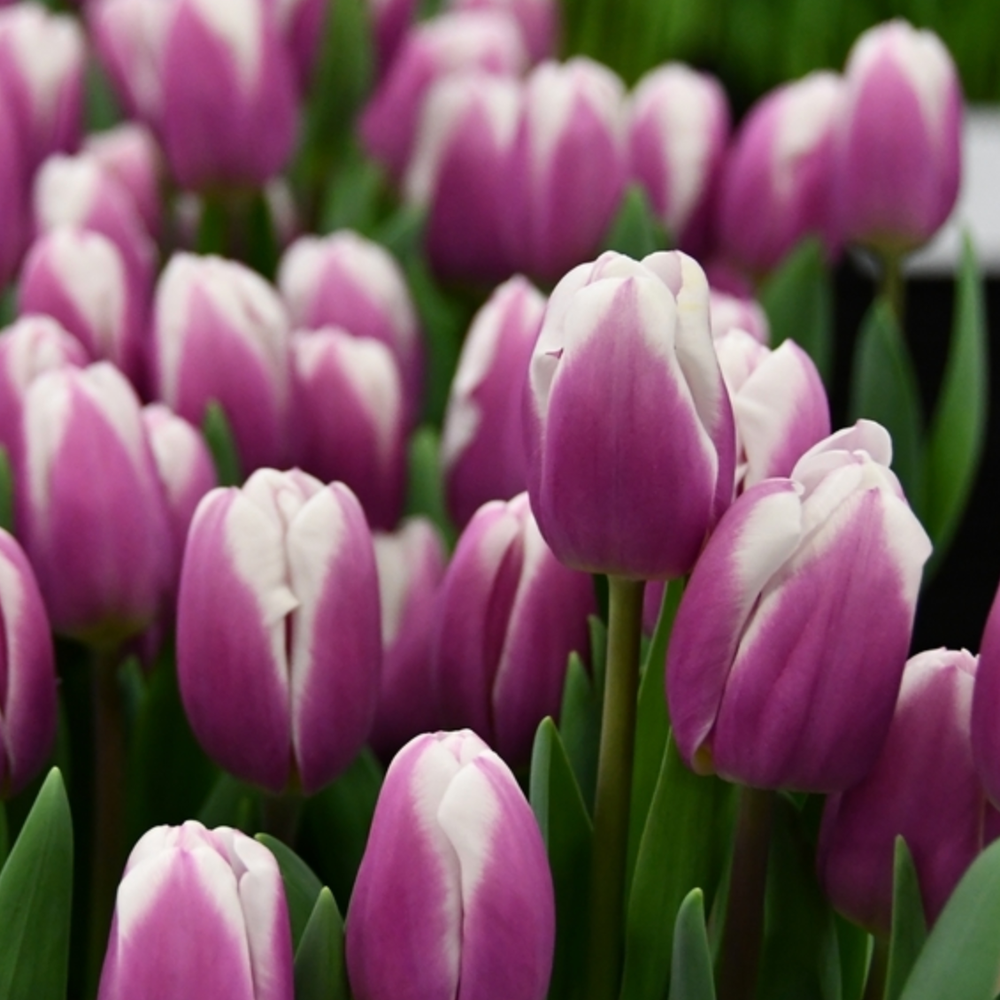
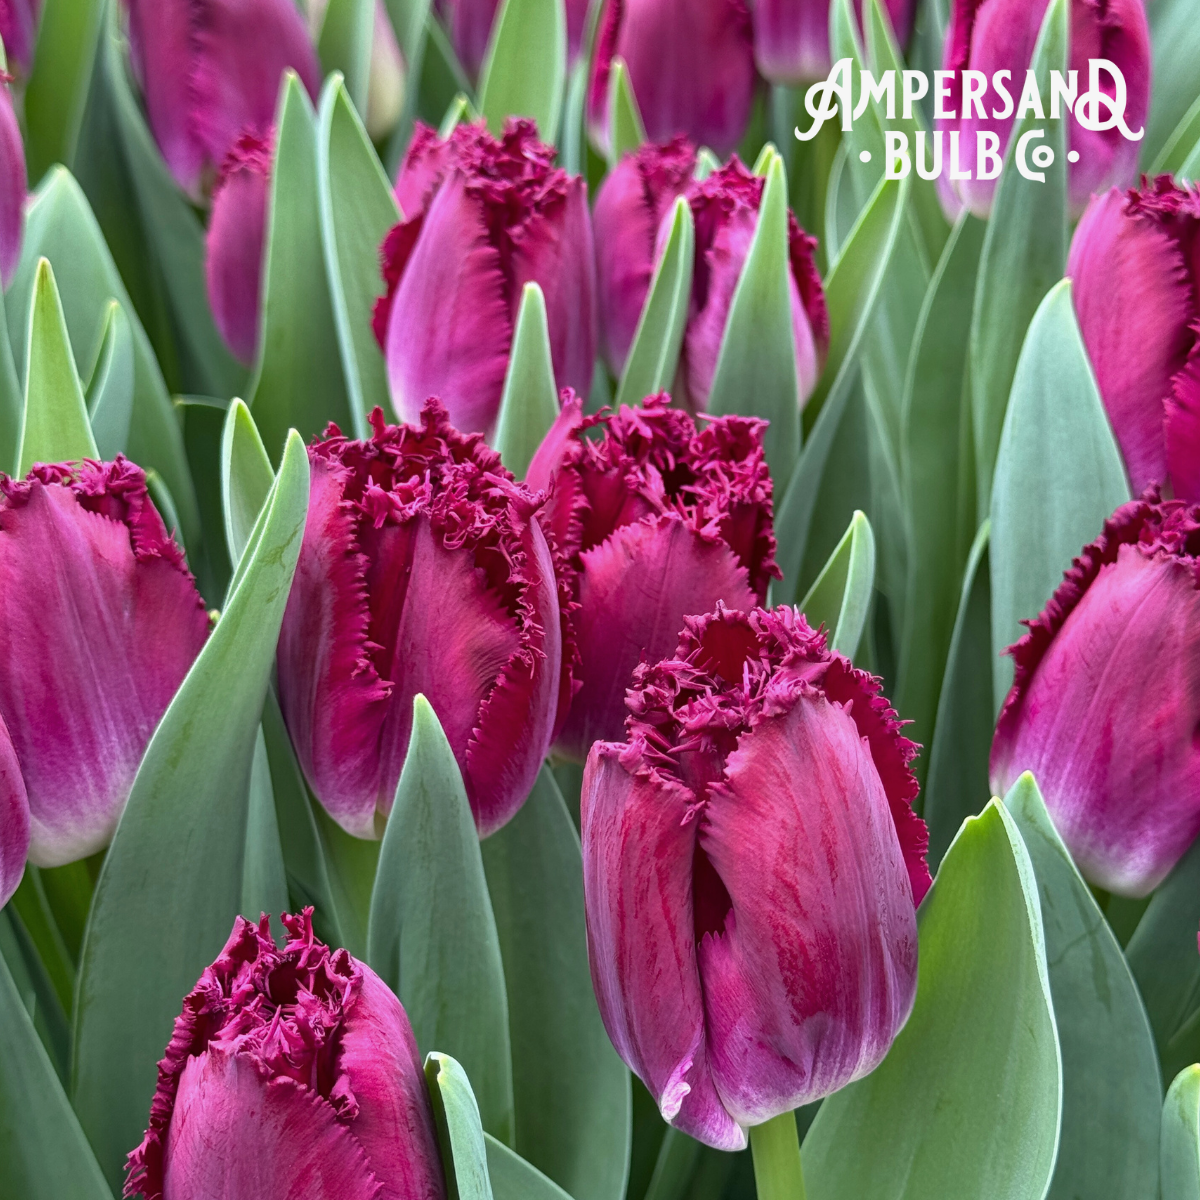
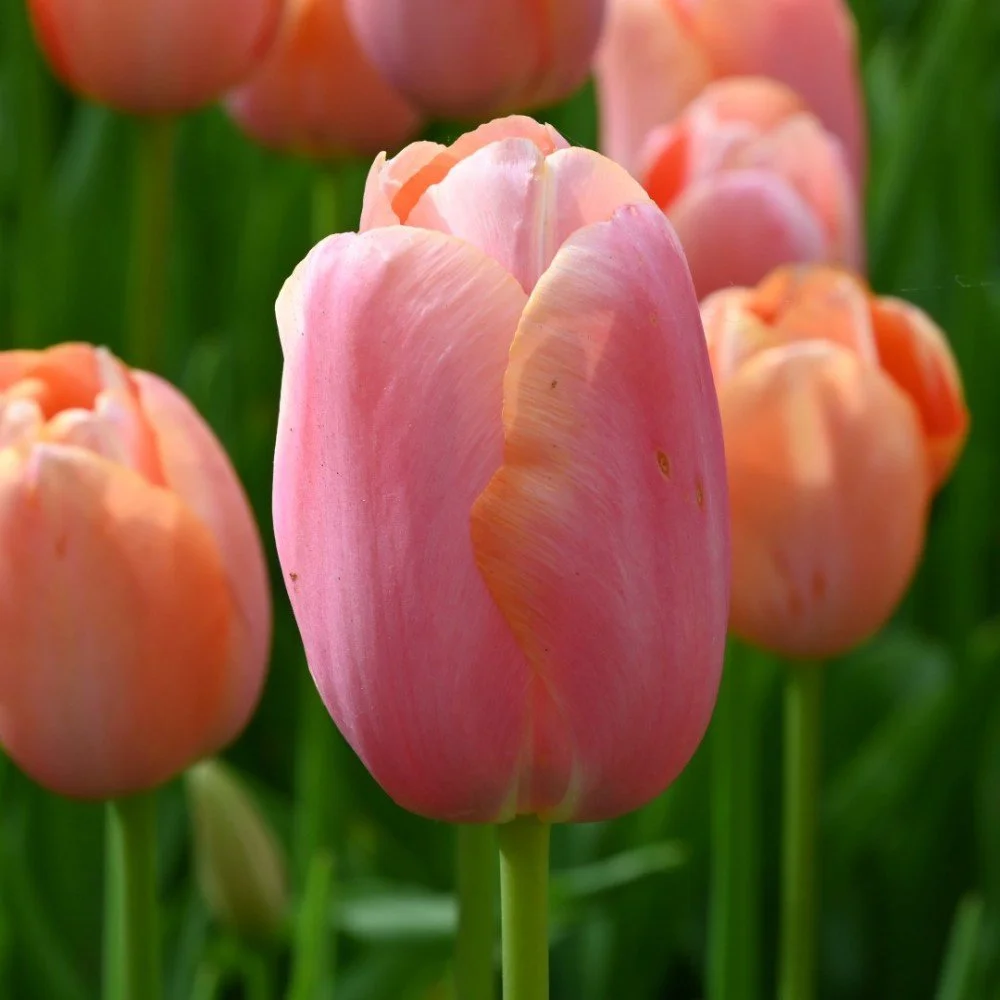
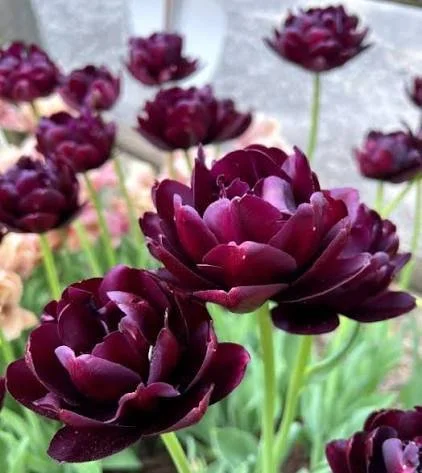
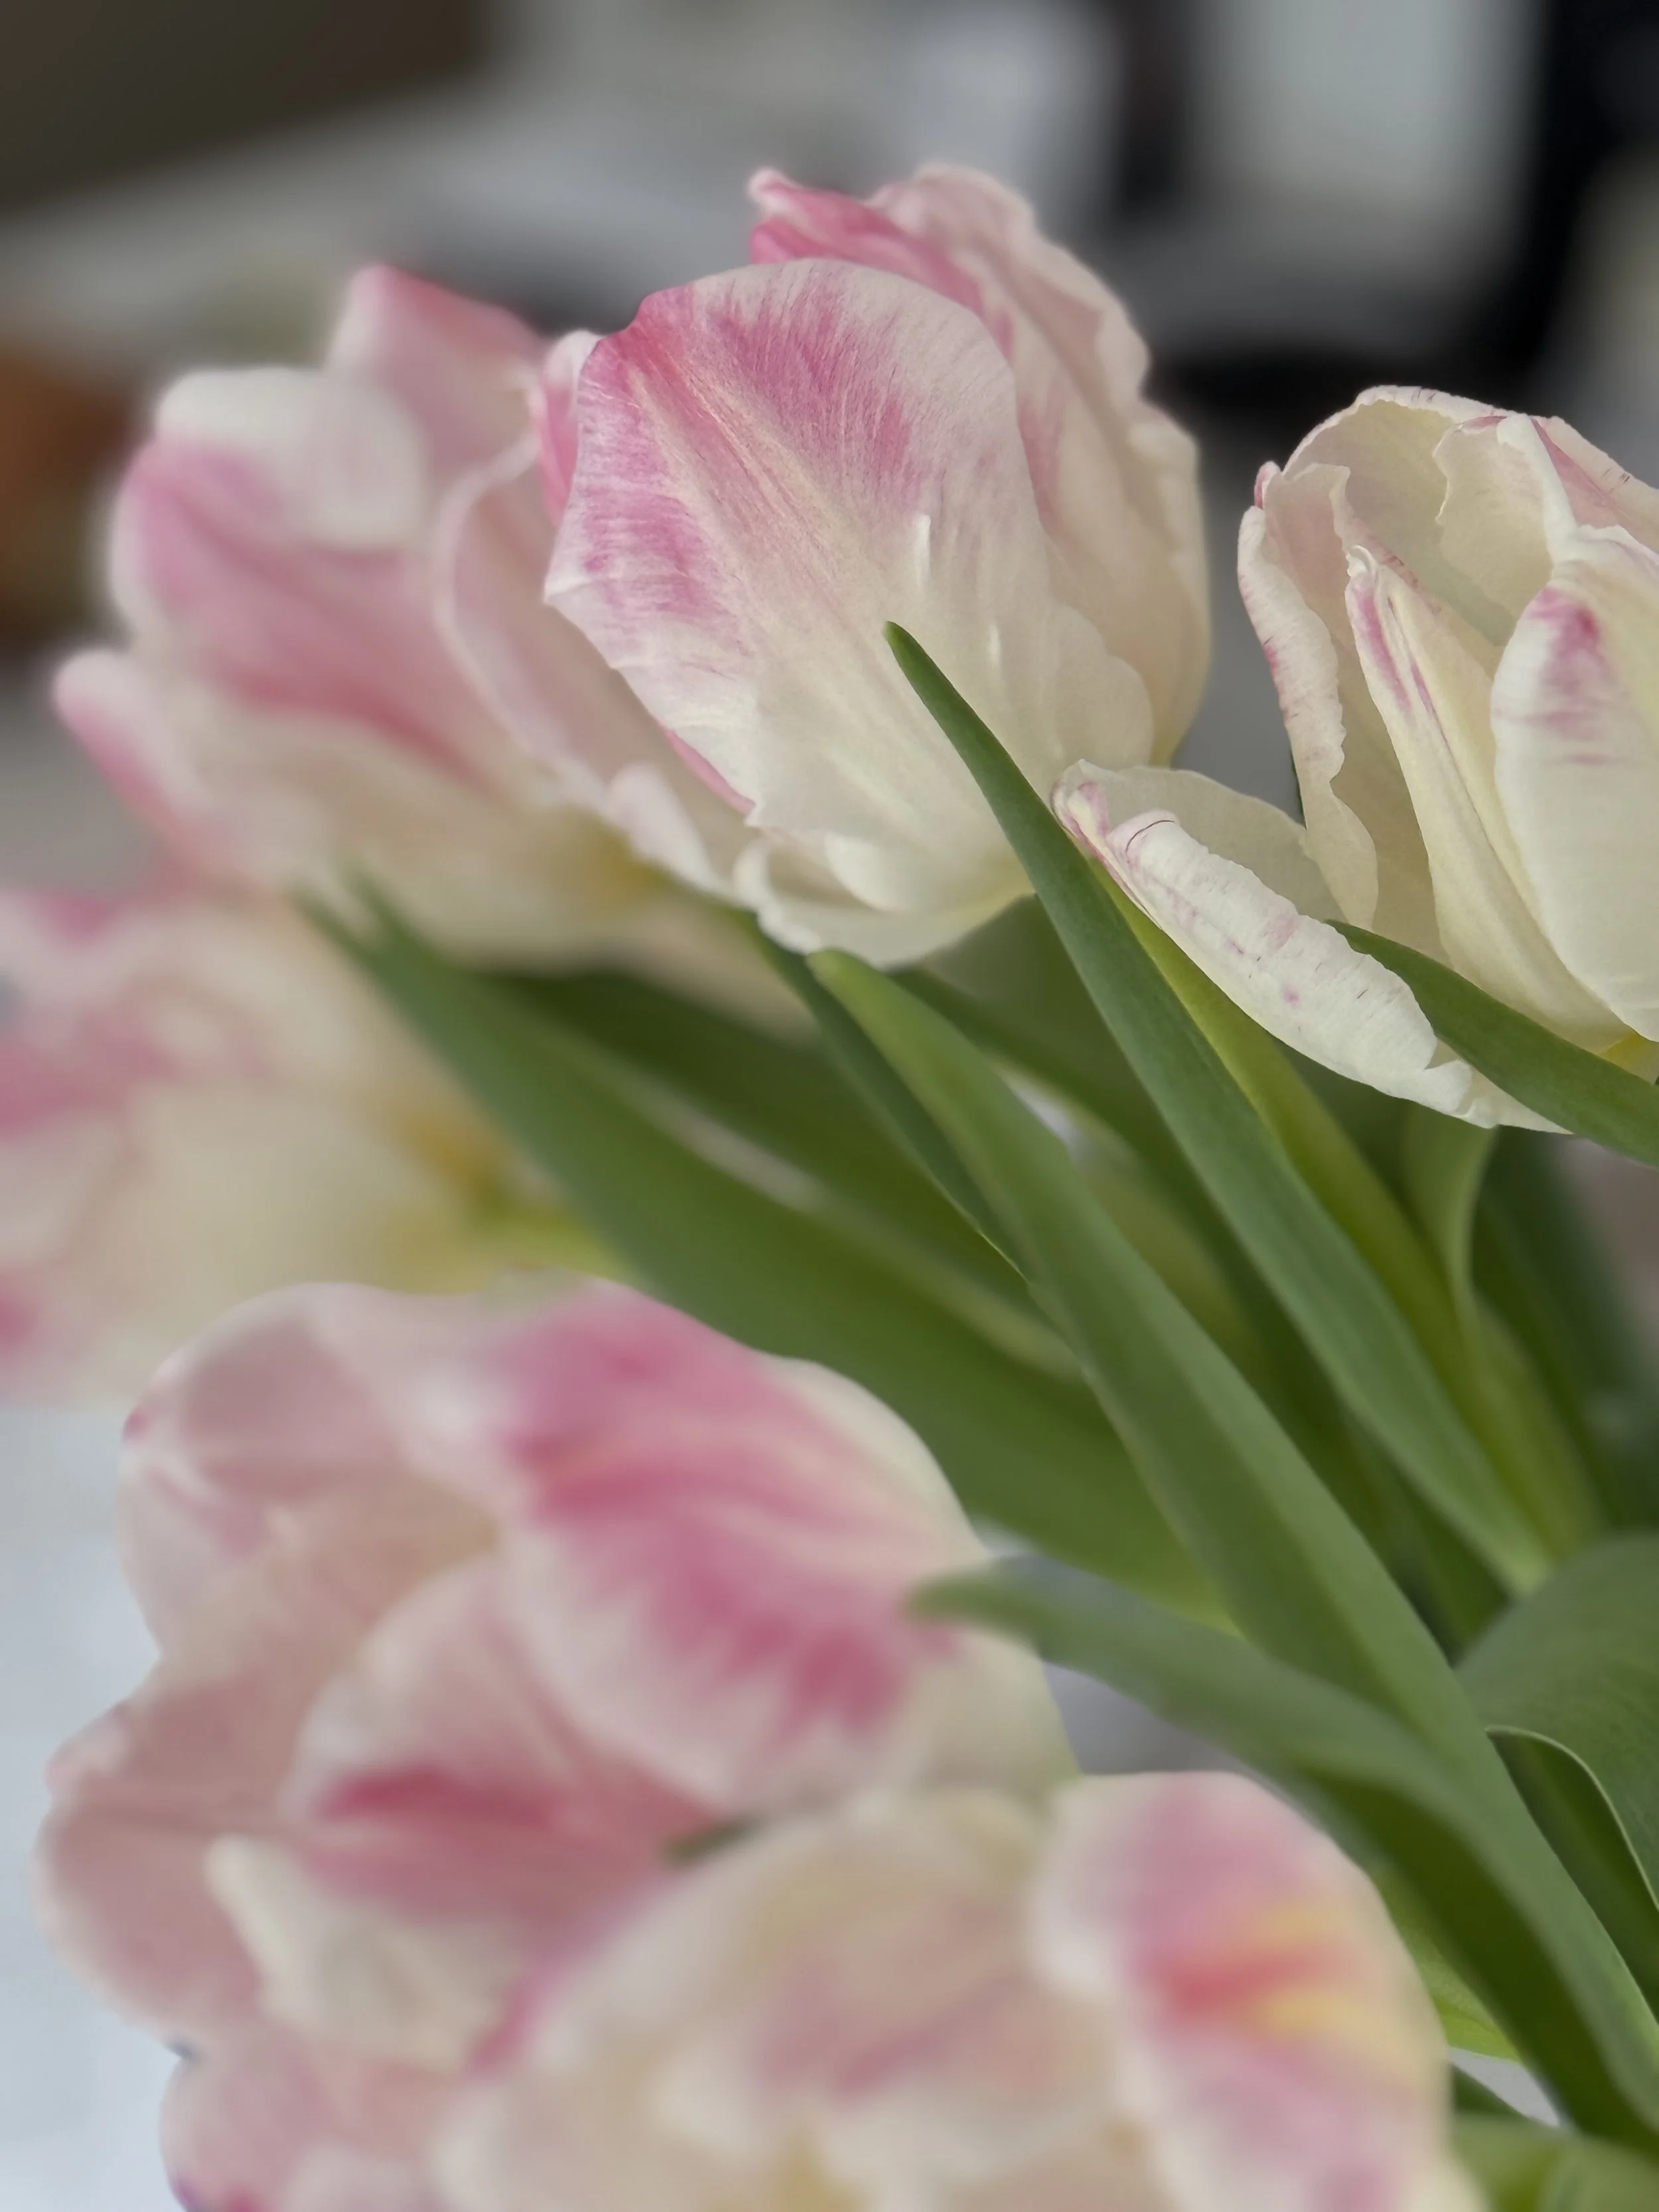
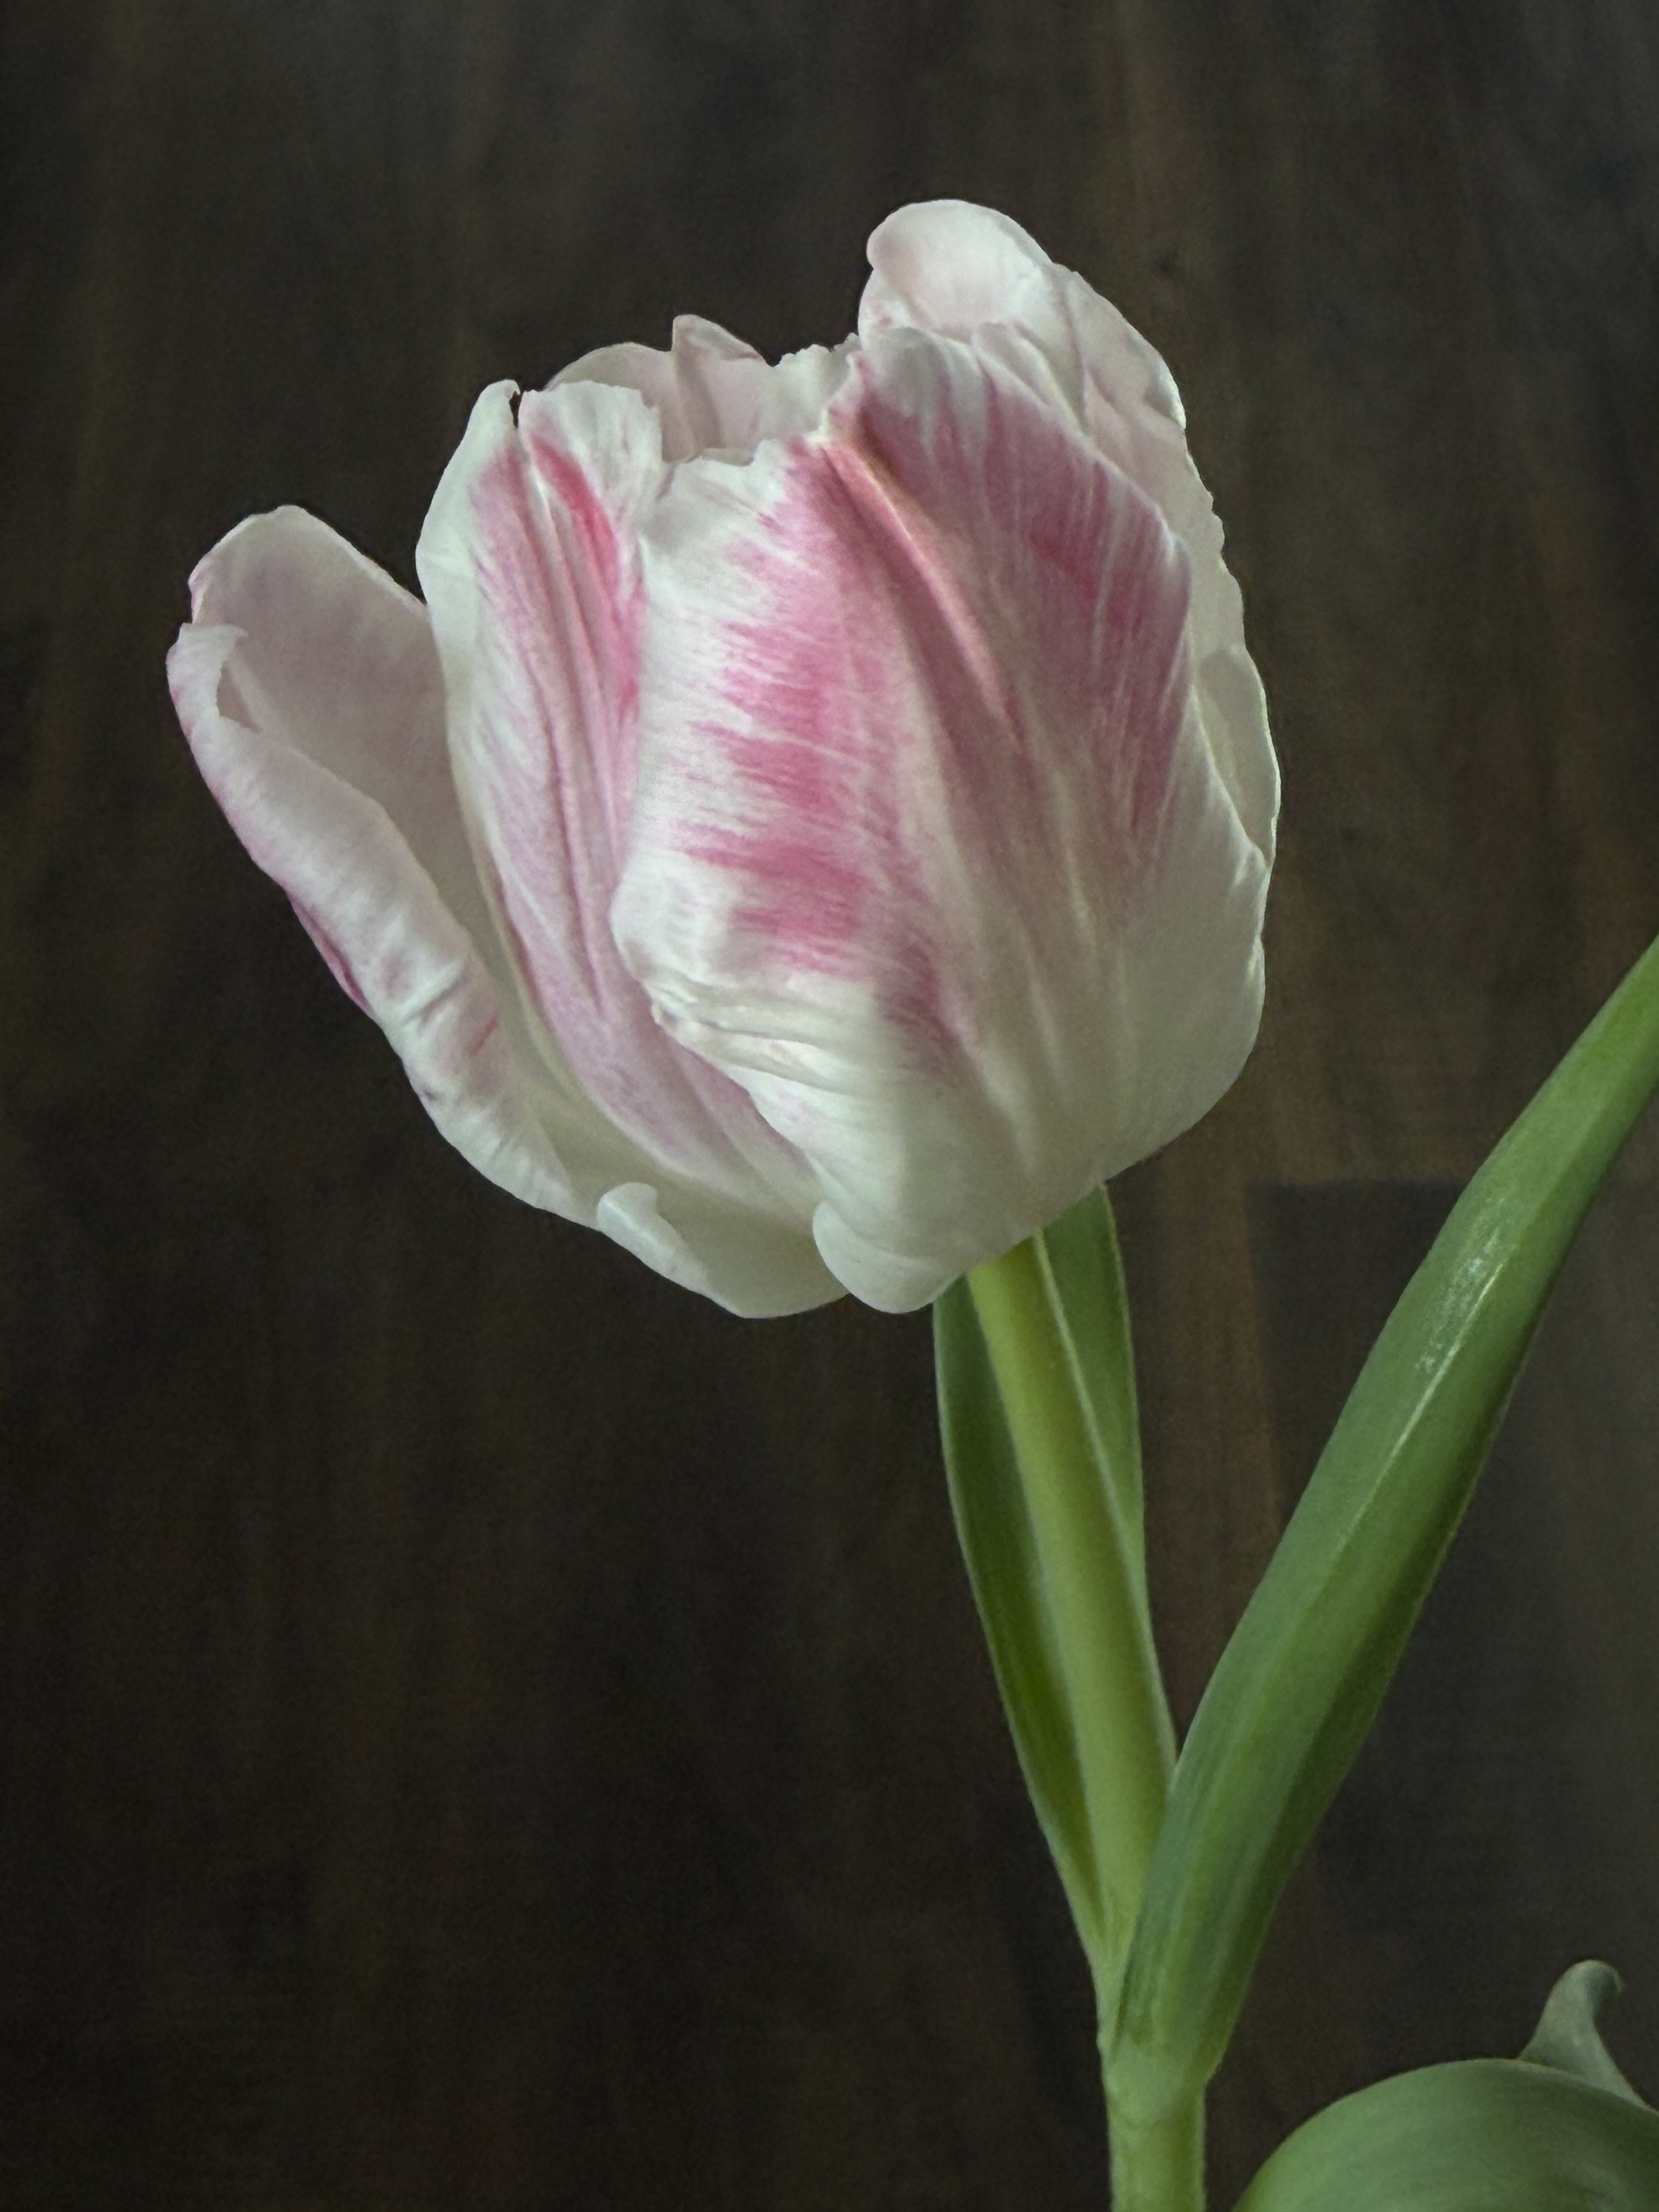
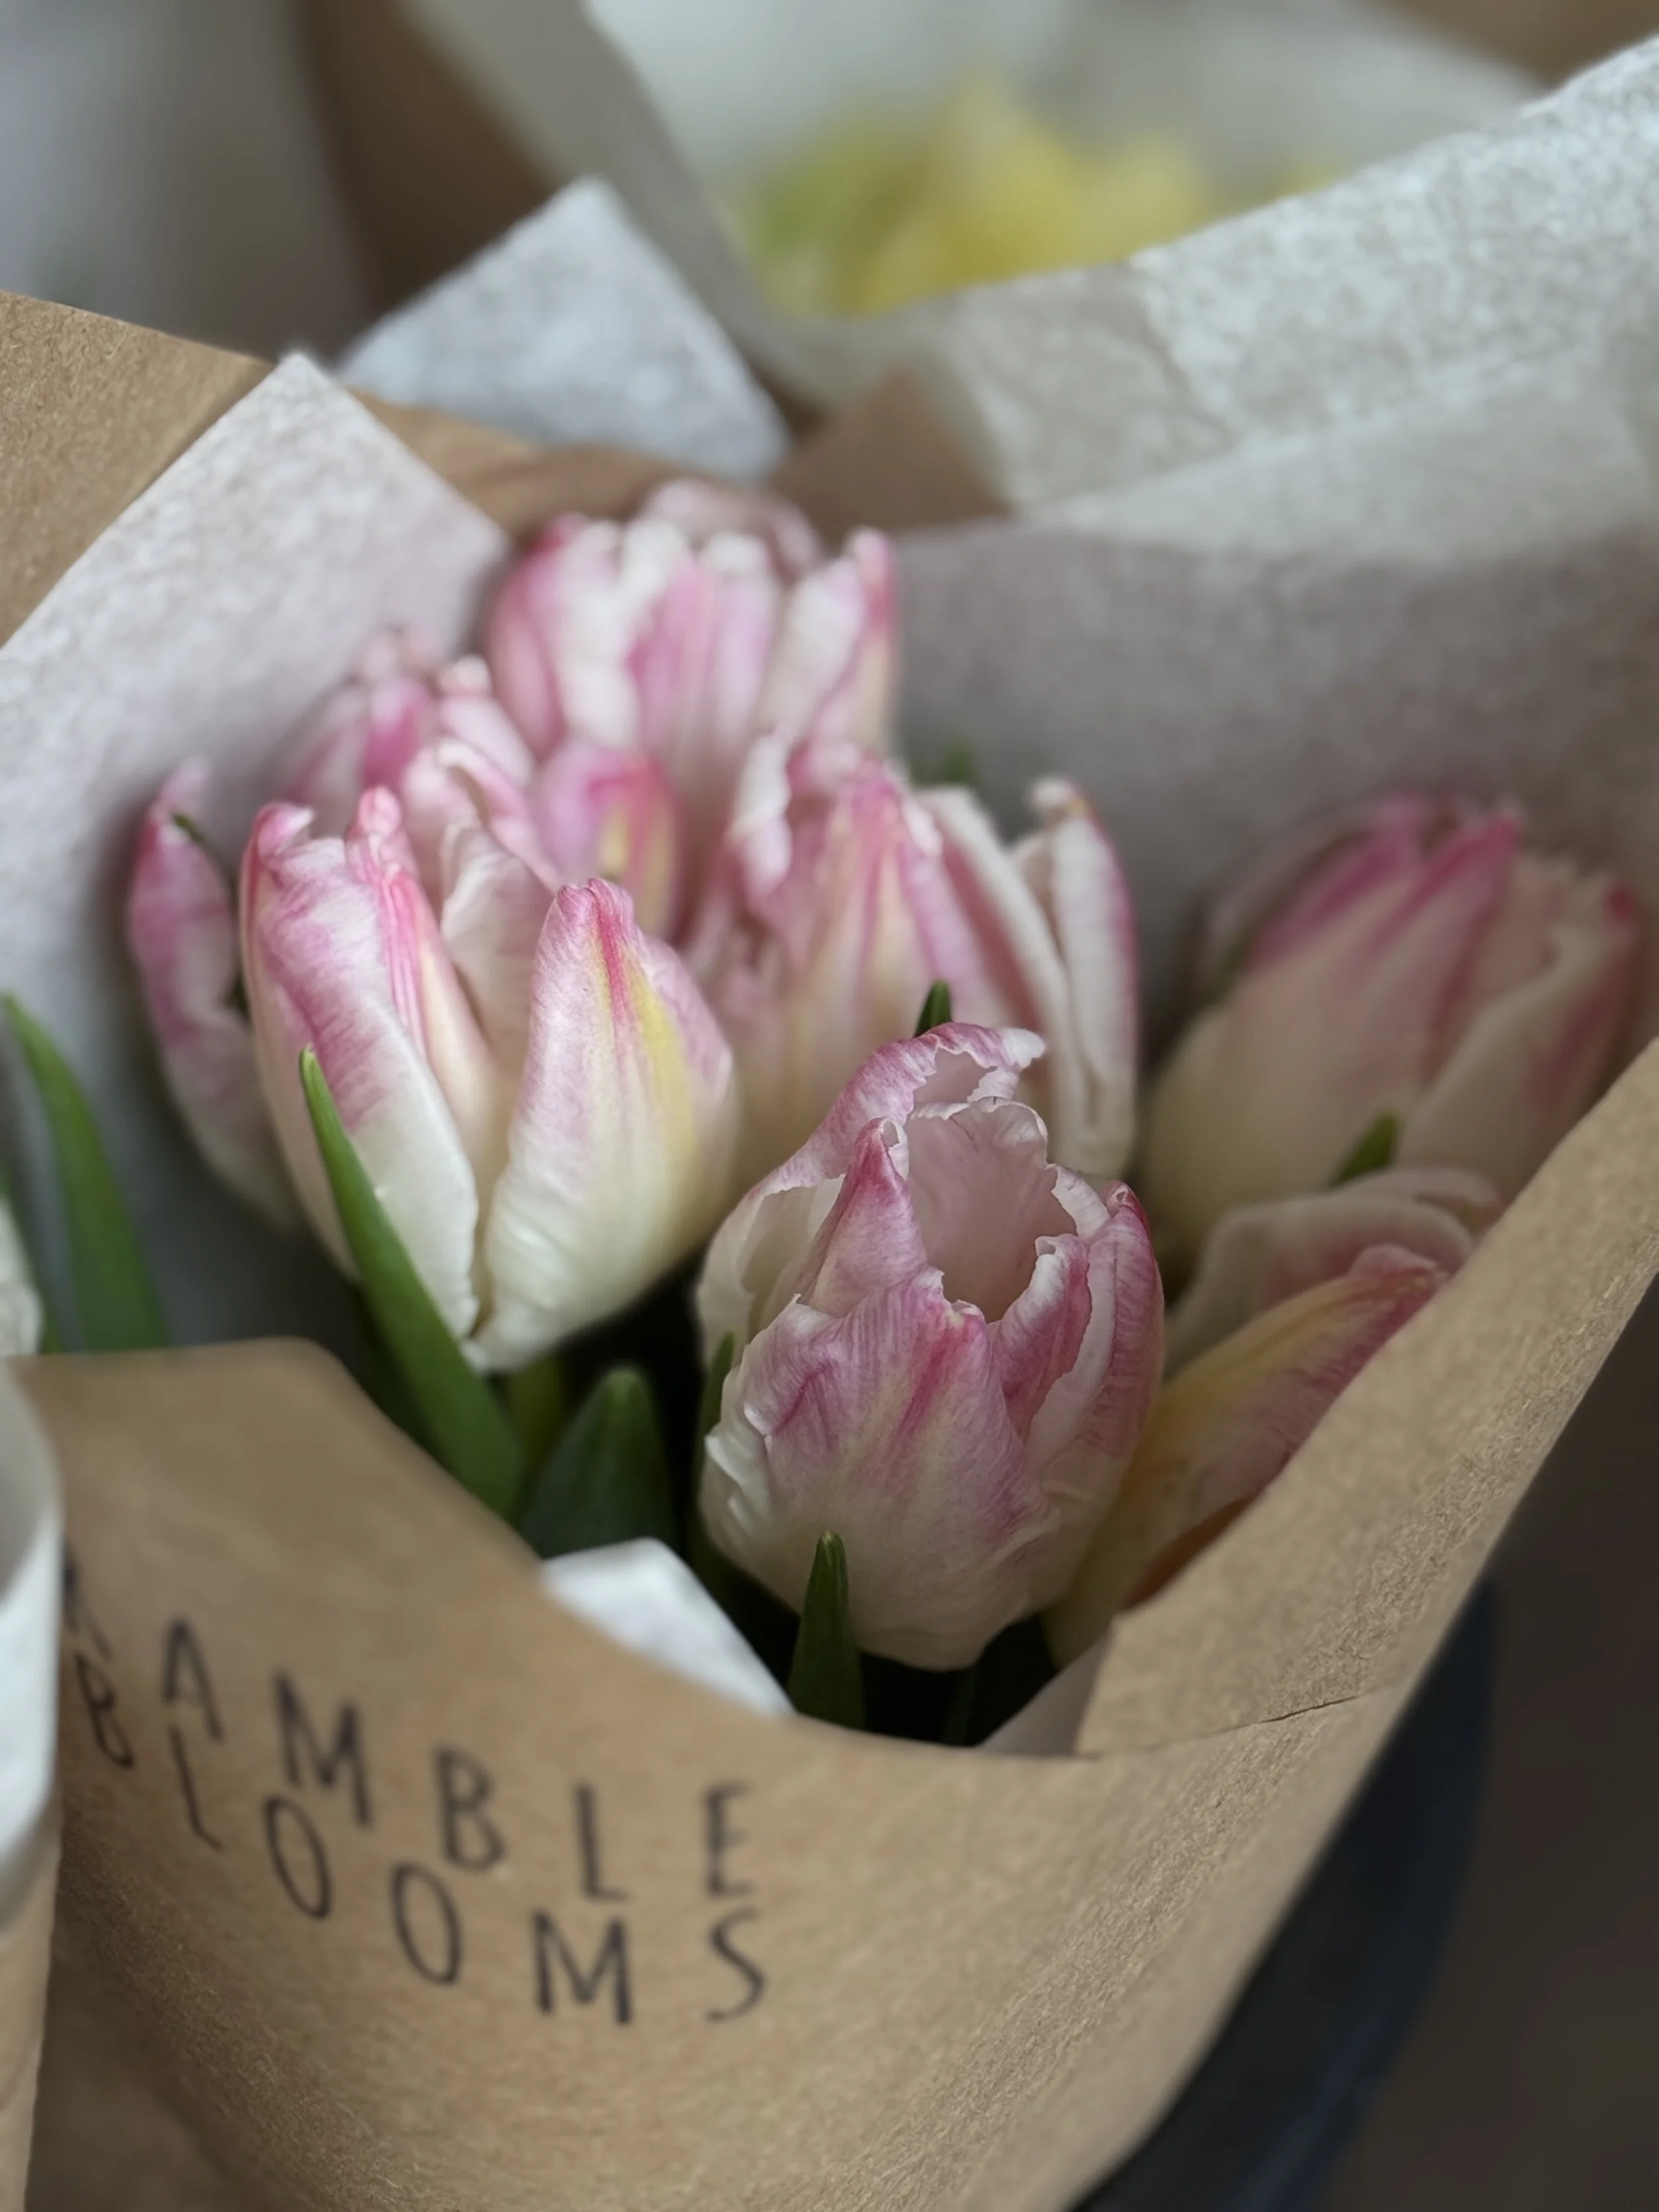
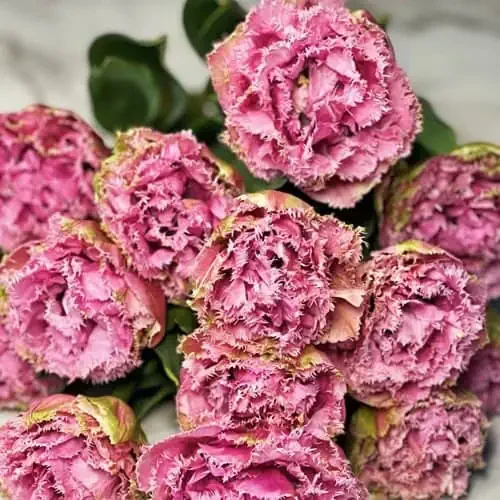
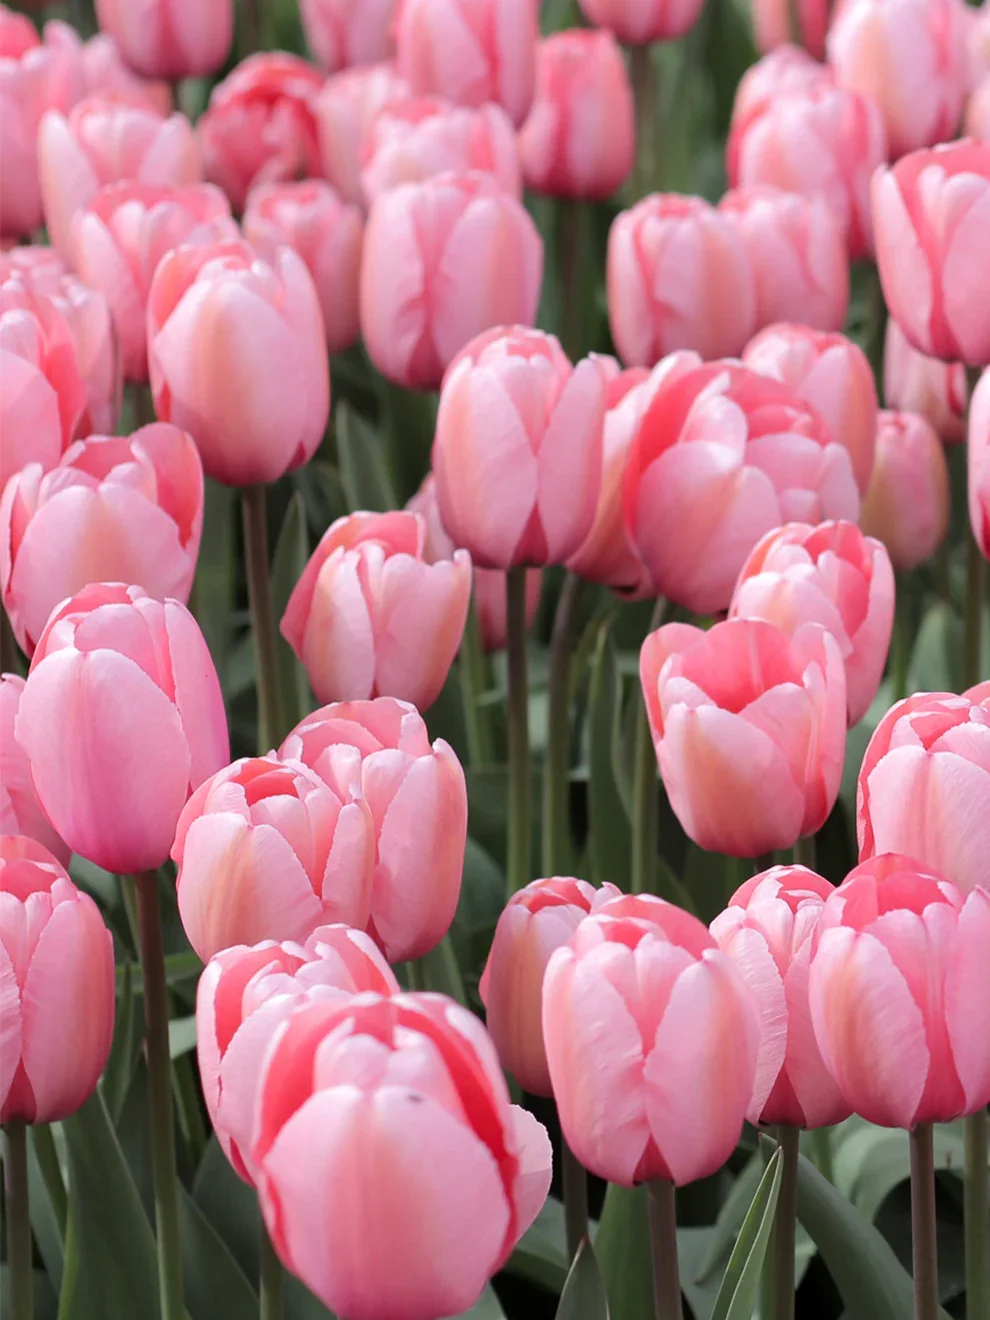
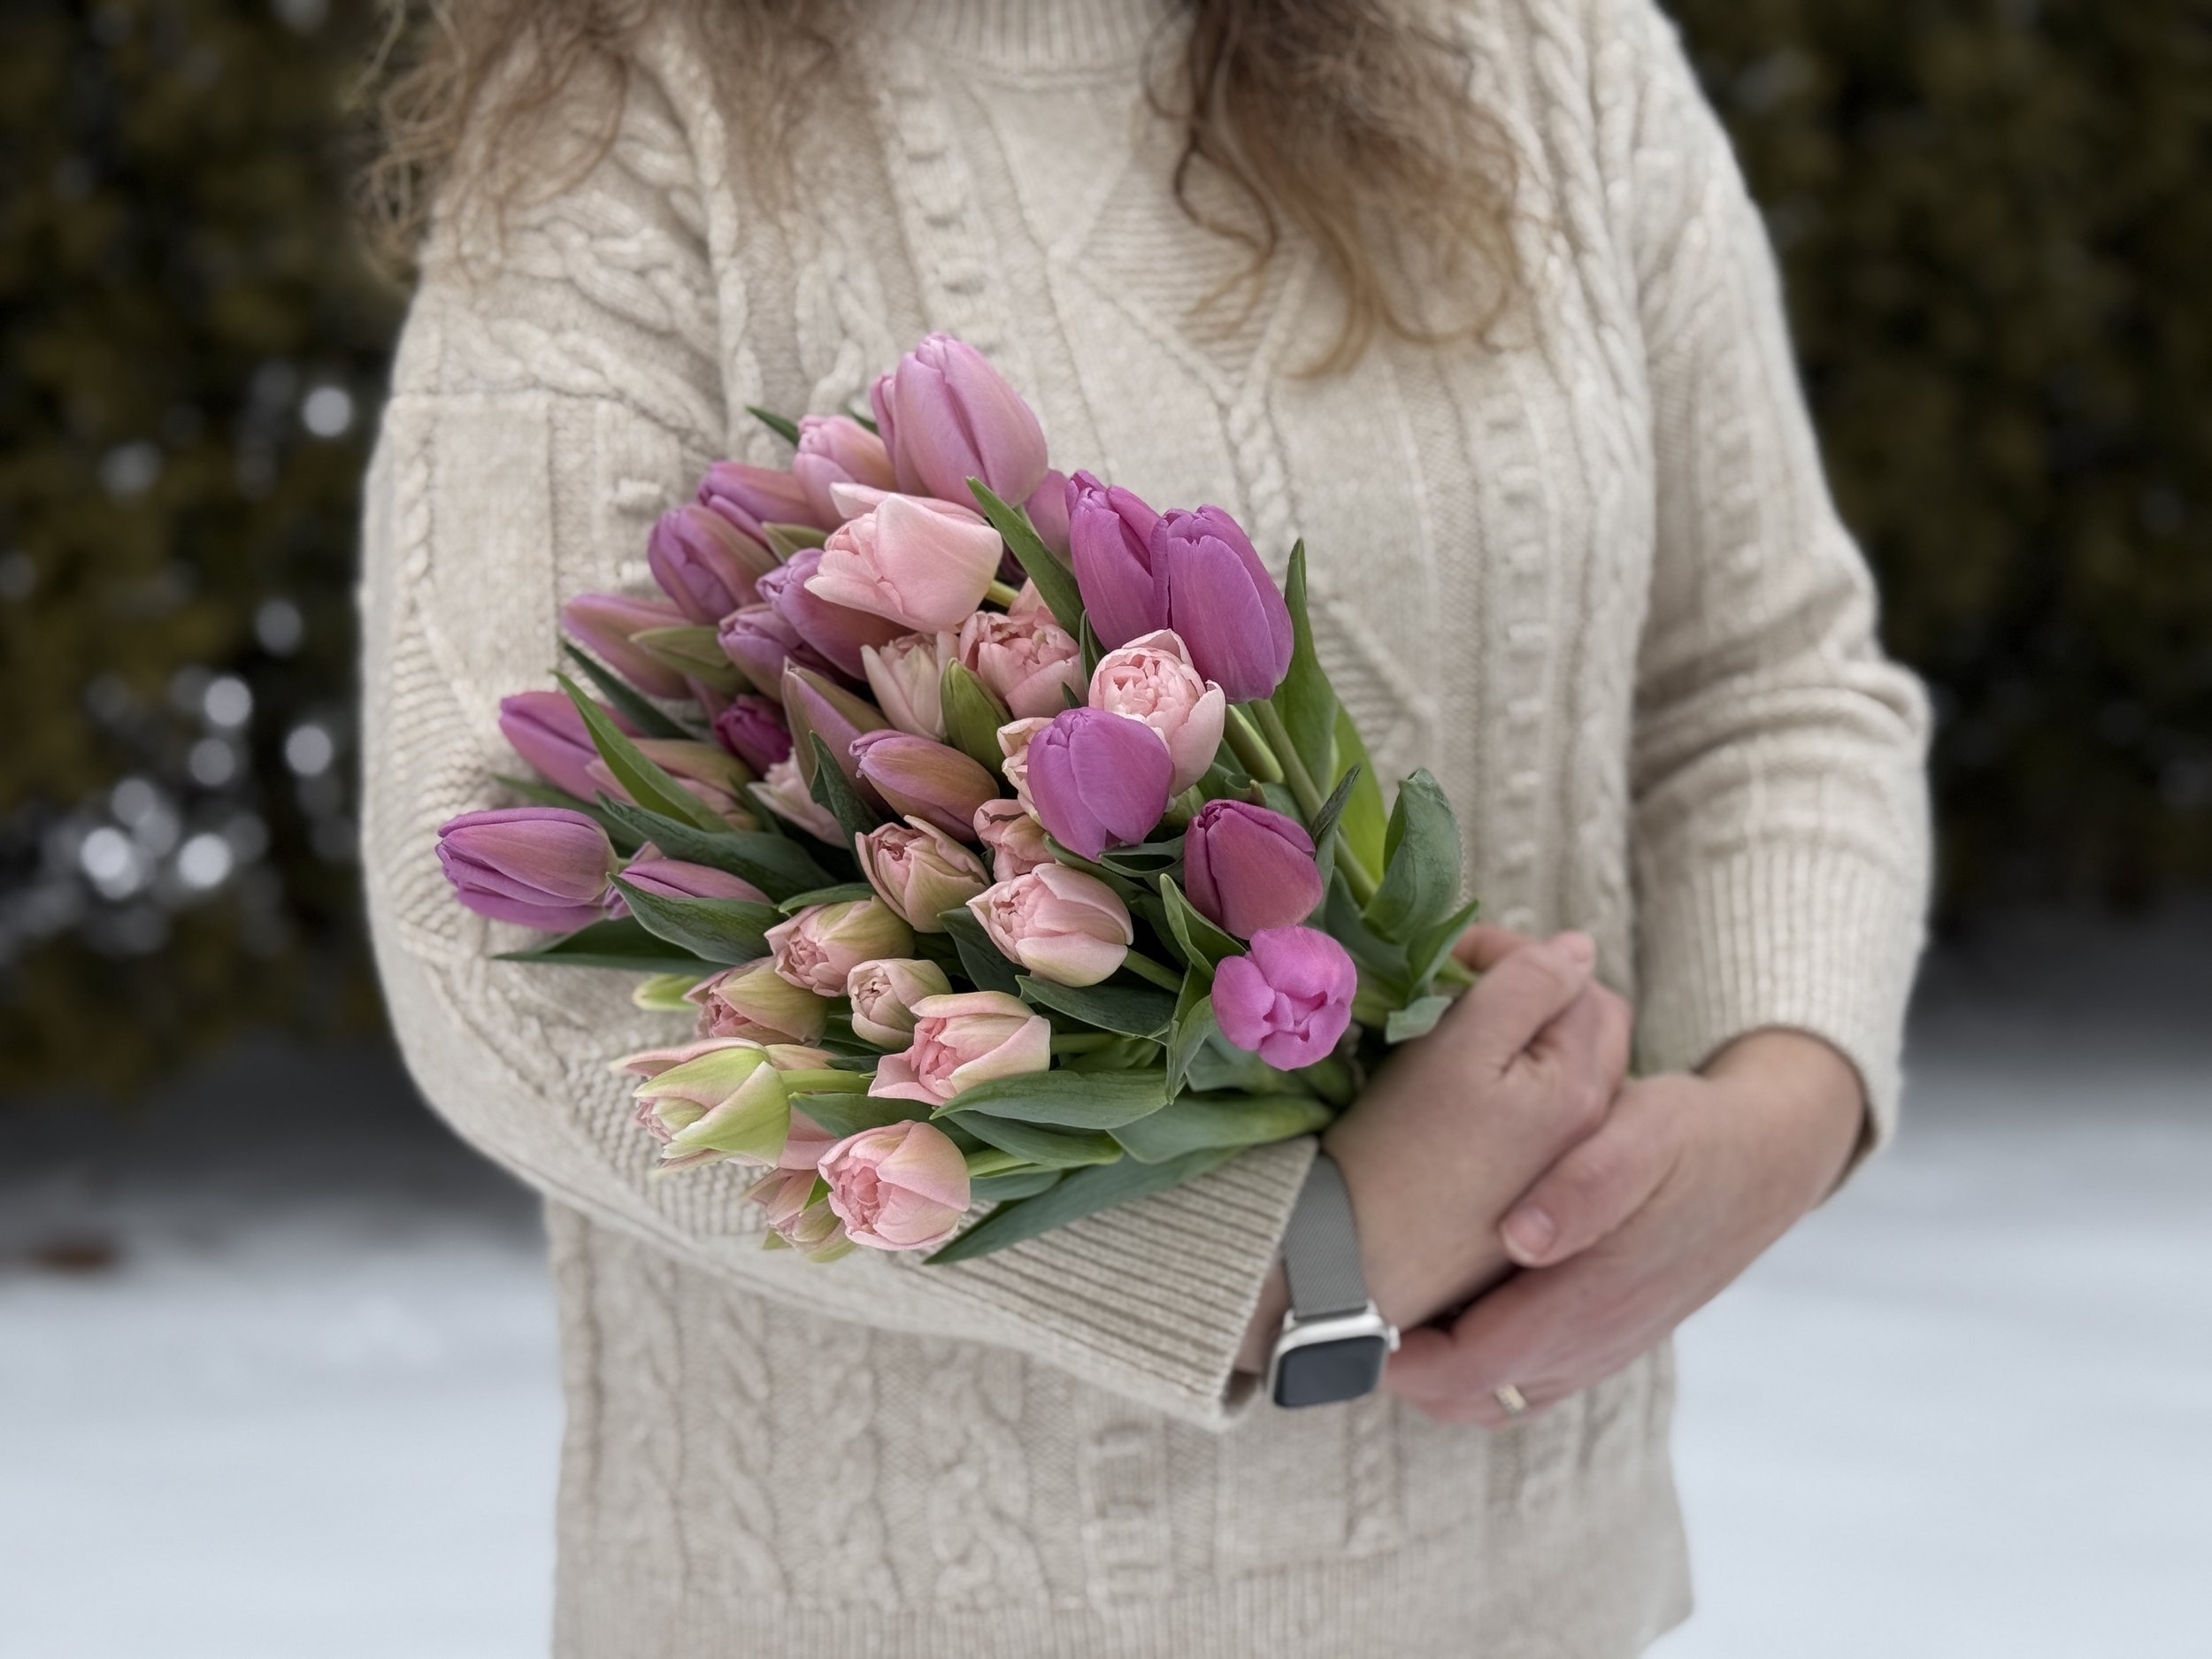
Learn about specialty bulbs.
-
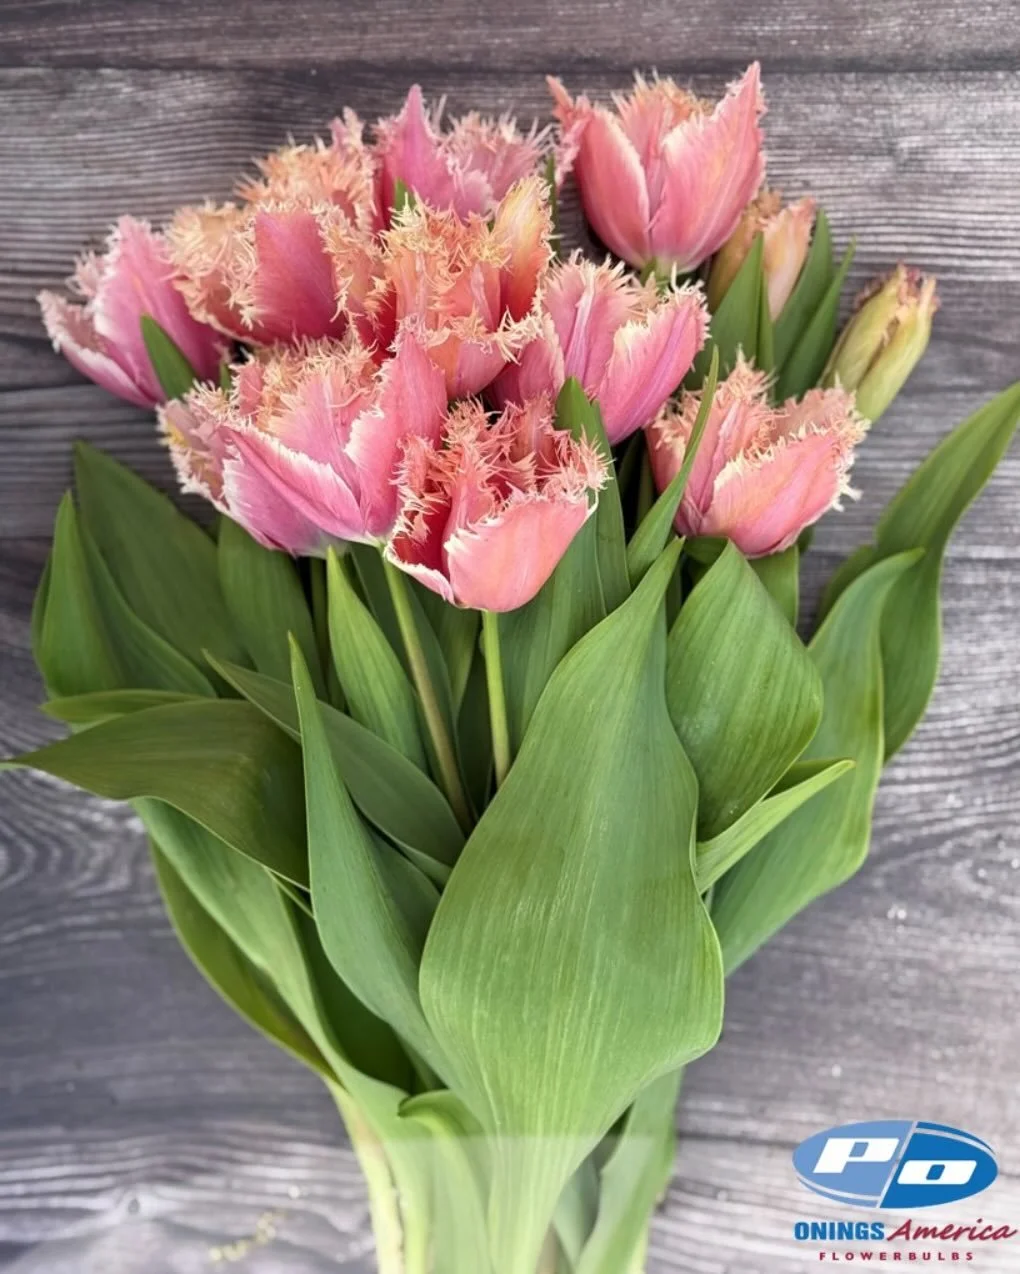
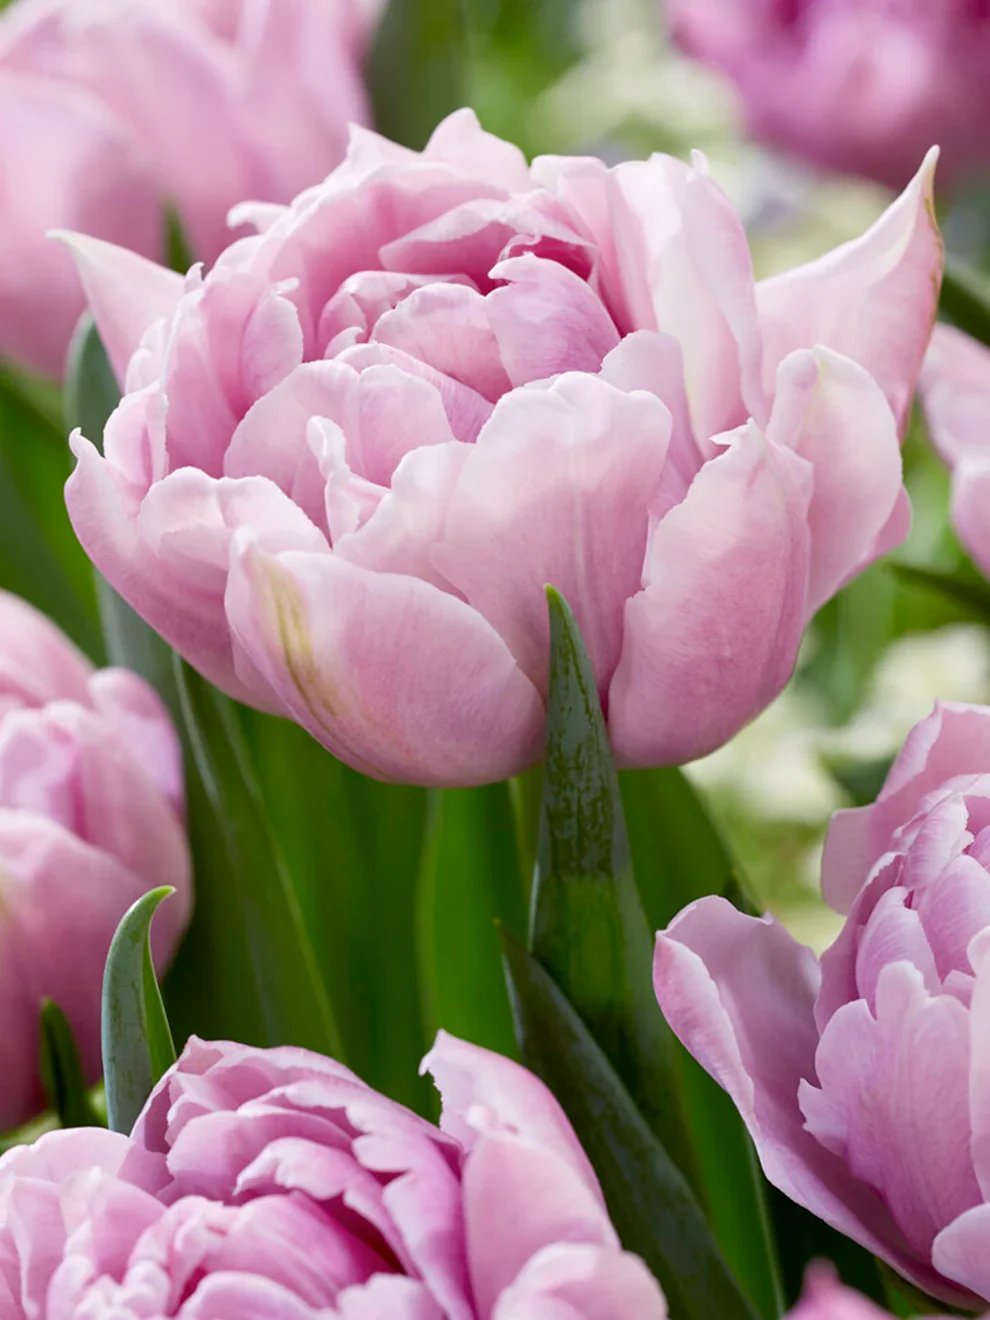
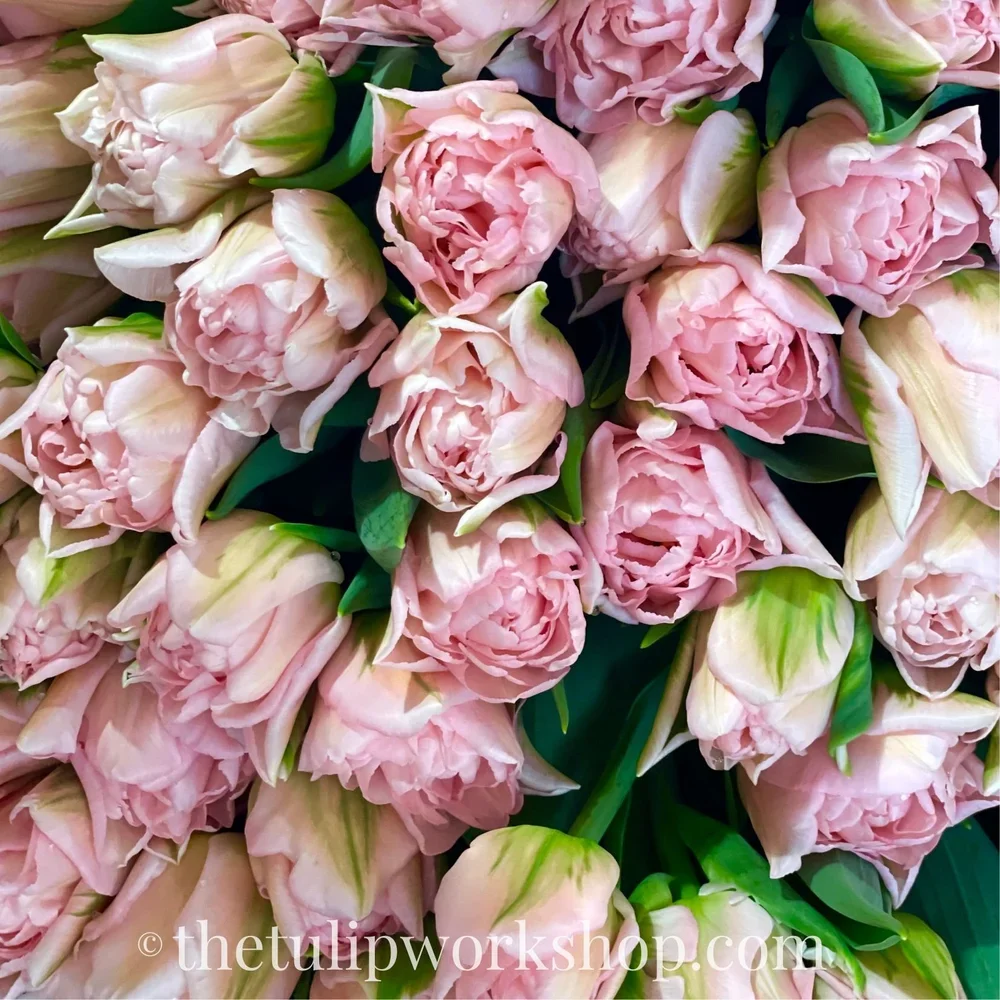
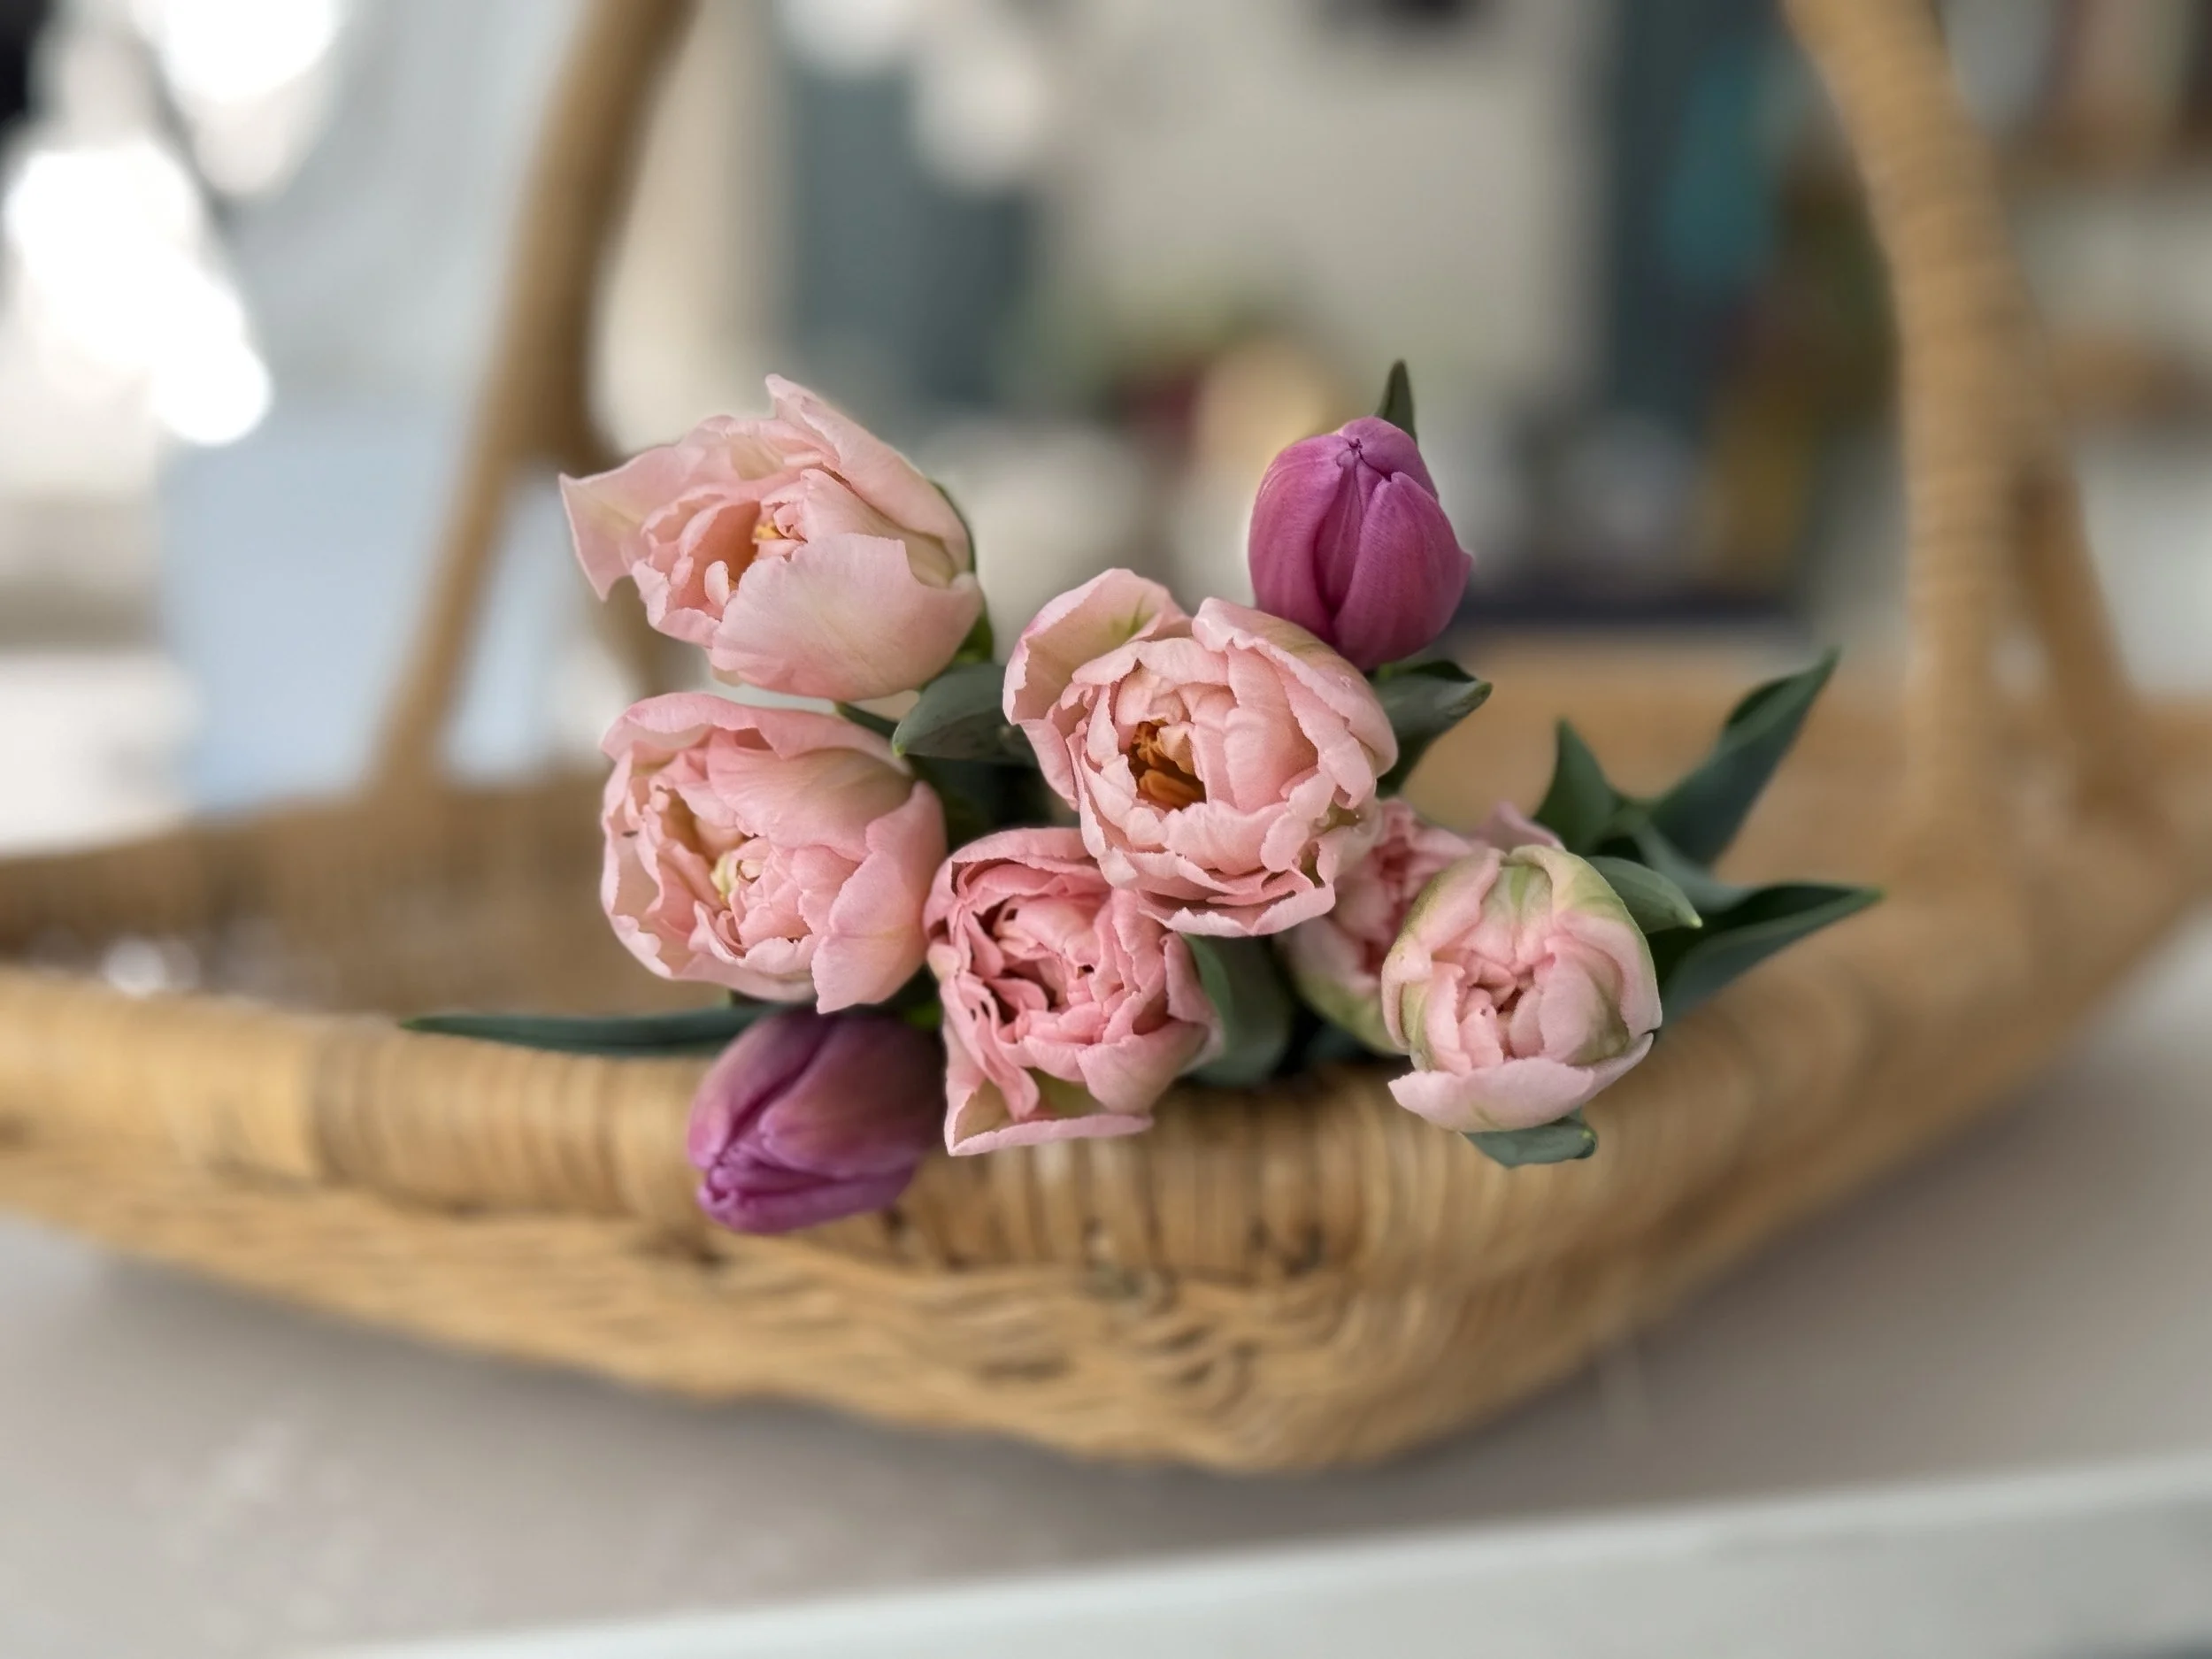
The bulbs you’ll find here aren’t just any bulbs, they’re the standouts, the ones that make you pause and say wow. Each variety is carefully chosen not only for reliable cut flower production, but also for its beauty and charm in the garden and vase. Think full, layered petals that rival peonies, stems long enough for graceful bouquets, and colors you don’t often see like, dreamy pastels, rich jewel tones, and everything in between. These are the varieties that bring a little extra magic to spring.
-
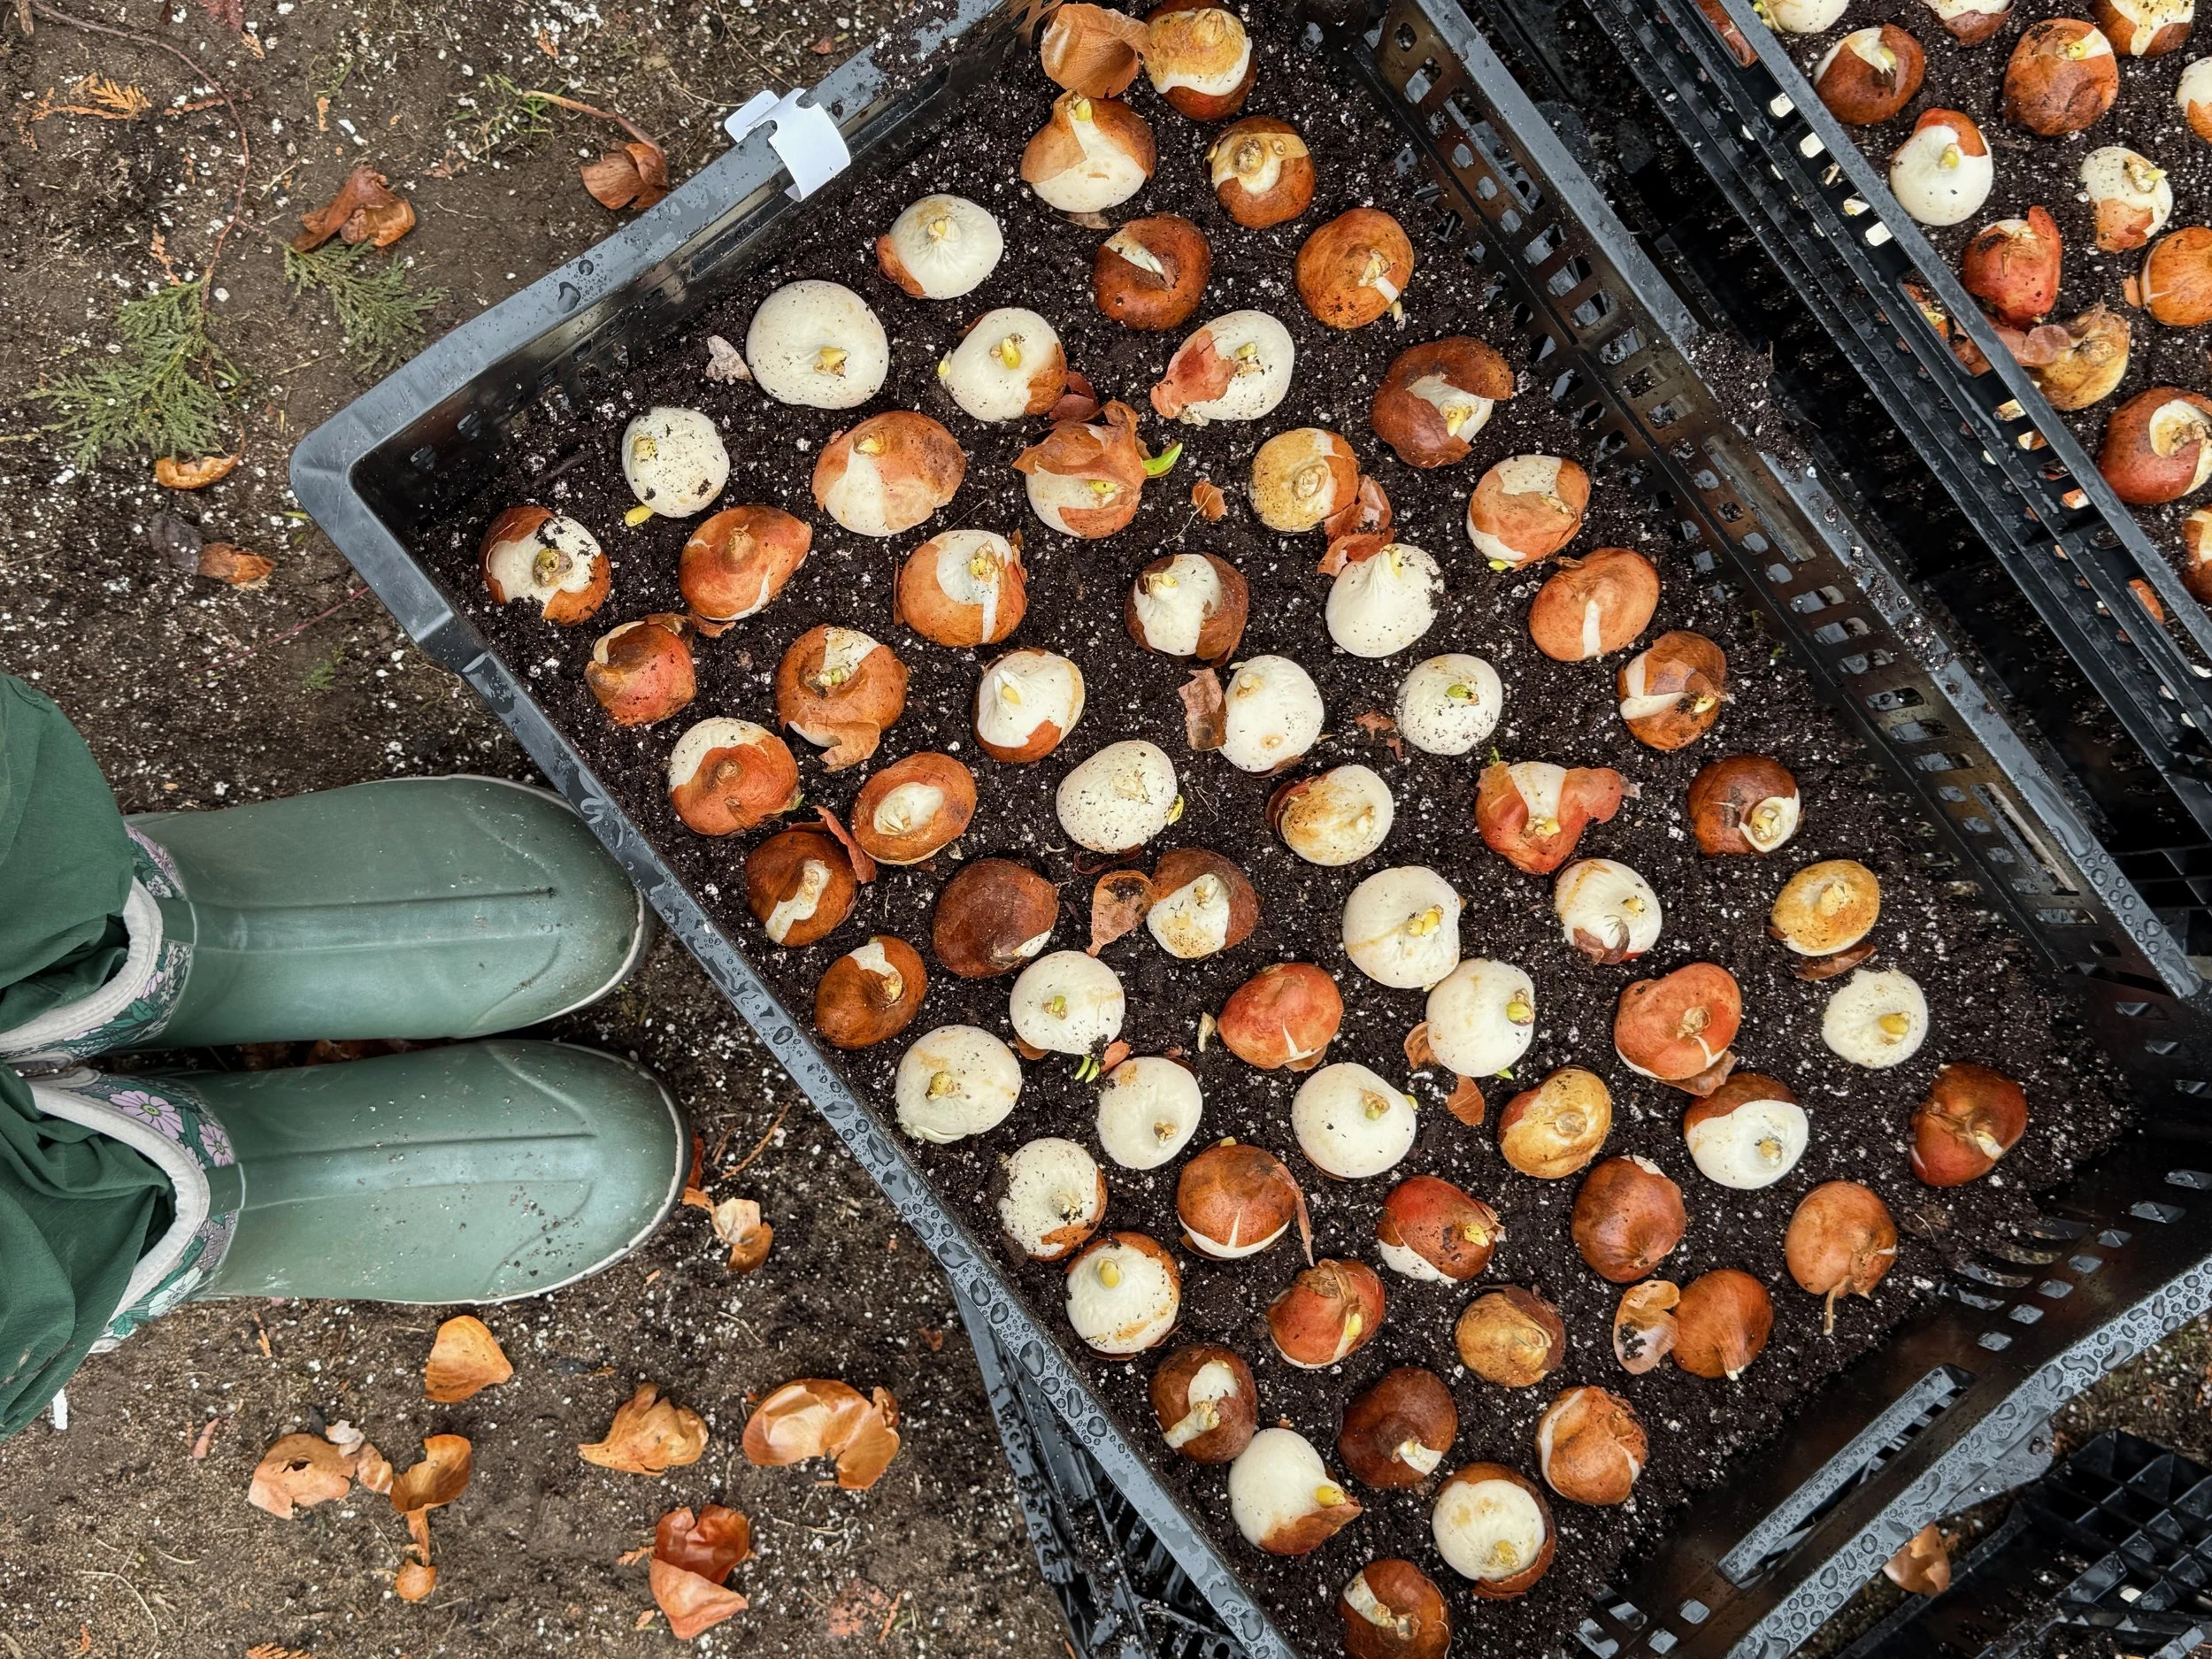
Tulip and Narcissus bulbs have a very long journey from Holland to the USA. The process of harvesting bulbs starts in late summer and by early October, growers like myself, begin to receive our shipments. We will work dilligently to get the bulbs shipped out as soon as we receive them some time between mid-end of October.
-
Unpack and Inspect Immediately
When your daffodil bulbs arrive, open the package right away. Give them a quick once-over to make sure none are soft, moldy, or damaged. Keep them in a dry, airy spot (ideally 40–70°F) until planting. Don’t leave them in a warm, soggy box — good air circulation keeps them happy until they go in the ground.Planting Time & Depth
The best time to plant is in fall, when the soil temperature has cooled (often September through November, depending on your zone).Choose a spot with full sun or partial shade and very good drainage, bulbs don’t like to sit in water.
As a rule of thumb: plant the bulb 3× as deep as its height. For many daffodils, that means roughly 4–8 inches deep.
Space your bulbs 4–6 inches apart to give them room to grow.
Once planted, water well just to help them settle. After that, most daffodils don’t need frequent watering unless it’s dry for many days.
Bloom Time & Growing Behavior
In spring, daffodils (narcissus) burst into bloom, offering a pop of color after a long, grey winter.After they finish blooming, don’t cut off the foliage right away. Let the leaves yellow and die back naturally. They’re doing important work storing energy in the bulb for next year!
Only when the leaves are fully withered should you remove them. Then the plants go dormant until fall.
Using as Cut Flowers & Perennial Notes
Daffodils can be a lovely addition to bouquets, but use them gently. When you cut them, you might reduce their ability to return next year because you’re removing some of the plant’s “fuel” (its leaves and stored energy). So if your goal is long-term bulbs year after year, reserve some blooms for the garden or alternate cut flower use.Many daffodils are more reliable as perennials when left to bloom undisturbed in the garden. Proper care, choosing the right varieties, and avoiding too much cutting will help them naturalize over time.
Tips for Success
Add organic matter (compost, leaf mold) to your planting area to improve drainage and fertility.
Avoid soggy soil as it’s a common cause of bulb rot.
In warmer zones (8–10), you’ll need to pre-chill your bulbs before planting (store them in a cool spot so they get that cold period they need).
In container plantings, use a well-draining mix and ensure excess water can escape.
-
Unpack & Inspect Immediately
When your tulip bulbs arrive, open the box right away and give them a good look-over. Set in a cool, dry, and well-ventilated place (about 40–70°F) until you’re ready to plant. Good air circulation helps prevent rot before they ever go into the ground.Planting Time & Conditions
Best Planting Window: Plant your tulip bulbs in the fall, usually October through November in most regions when the daytime soil temperatures have dropped to around 60°F (15°C) or cooler.
Light & Site: Choose a spot with full sun or light shade and excellent drainage. Tulips hate “wet feet” and soggy soil is one of their biggest enemies.
Depth & Spacing
A reliable rule: dig a hole about 3× as deep as the bulb is tall. For most tulips, that’s about 5–7 inches (12–18 cm) deep.
Space bulbs 4–5 inches (10–13 cm) apart so each has room to grow without competing.
Point the bulb’s tip upward and plant with firm soil contact. After planting, water well once to settle everything.
Growing & Care Through Spring
Once shoots emerge, water only when you’ve had no rain for 3–5 days as tulips don’t love constant wet soil but also need a lot to grow.
Keep weeded so that young leaves aren’t competing for nutrients or sunlight.
After Bloom & the Fate of the Bulbs
Deadheading: As flowers fade, remove the spent blooms but let the foliage stay until it yellows and dies back naturally. Those leaves feed the bulb for next year.
How To Grow Tulips For Cutting?
Growing tulips for cut flowers requires that you treat the bulbs as annuals as you are cutting at the base of the stem and removing all the foliage from the plant.Planting for cut flowers means you can plant the bulbs much closer together in an “egg carton” fashion as they will not have the opportunity to perennialize.
Dig a trench as long as needed and approximately 6 inches deep
Place the bulbs close together with the pointed ends facing up. Make sure they don't touch each other.
Fill the trench back up with soil and water deeply. While tulips don’t like wet feet, they do require a lot of water to grow properly.
In the spring, cut the Tulips as the buds start to color but haven’t yet opened to have the longest vase life. Tulips can continue to grow taller in the vase so ensure you are trimming stems every couple of days and changing out the water in the vase.
Tulips as Perennials?
Tulips are technically perennials, but many varieties don’t reliably come back year after year in garden conditions. If you use them as cut flowers often, their energy is diverted and their ability to return may wane.Tips for Success
Plant multiple varieties that bloom at different times (early, mid, late) to stretch your tulip season.
In warm zones (8–10): Because the soil may not get cold enough to satisfy tulip bulbs naturally, consider pre-chilling them.
For container planting, ensure excellent drainage. Overwinter containers indoors or in a cool, sheltered spot.